Configuring Switch as a Unicast Simple Network Time Protocol SNTP Client via CLI
Objective
Synchronized time also reduces confusion in shared file systems, as it is important for the modification times to be consistent, regardless of the machine on which the file systems reside.
The Cisco Small Business Switches support Simple Network Time Protocol (SNTP) and when enabled, the switch dynamically synchronizes the device time with time from an SNTP server. The switch operates only as an SNTP client, and cannot provide time services to other devices.
Unicast is a one to one connection where data is only being sent to a single destination. Multicast is a one to many connection which allows a host to send packets to a subset of all hosts as a group transmission. An Anycast is a connection between a client and a list of addresses.
The reason to configure Unicast server is because older network devices on your network may not support Multicast/Anycast traffic, or there might be a security reason for wanting to keep Mulicast/Anycast traffic off of a network segment.
This document shows you how to configure the switch as a SNTP (Simple Network Time Protocol) Unicast client through the Command Line Interface (CLI).
Note: To learn how to configure SNTP Unicast settings on the Graphical User Interface (GUI), click here.
Applicable Devices
· Sx300 Series
· Sx350 Series
· SG350X Series
· Sx500 Series
· SG550X Series
Software Version
· 2.3.5.63 & up
Configure SNTP Unicast Client
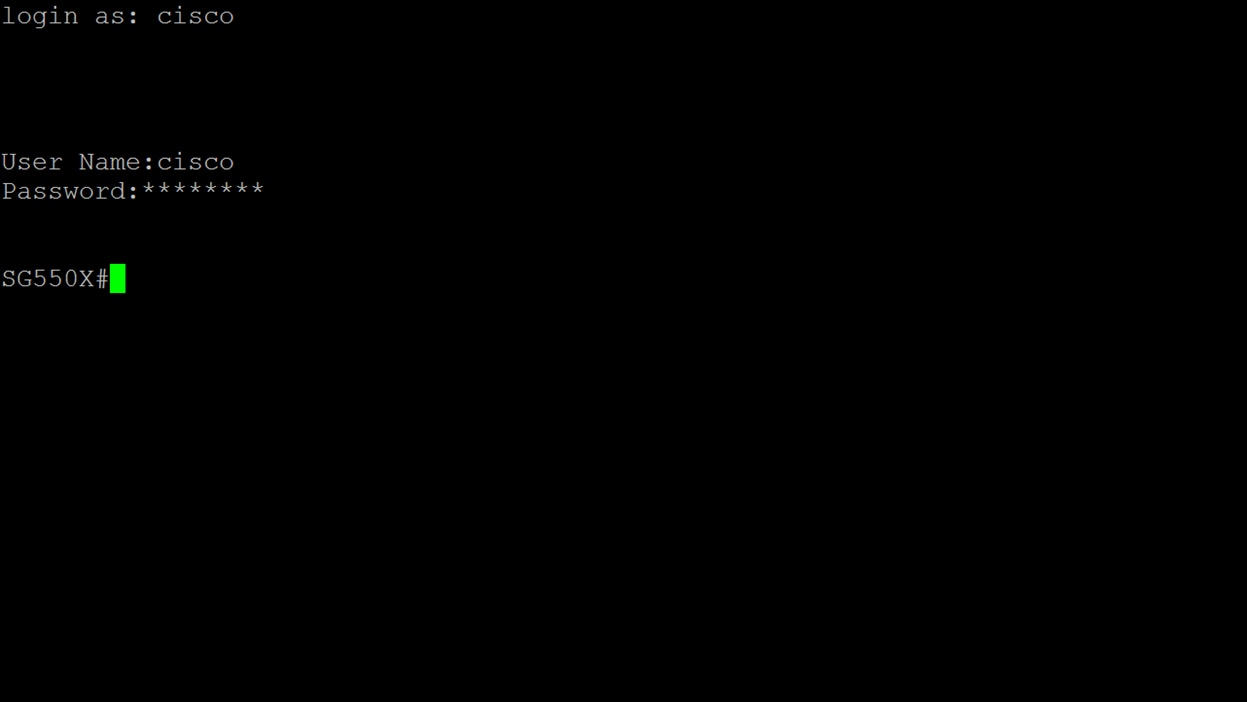
Step 1. Access the CLI of the switch via your preferred method. In this example, we will be using Putty to connect to a SG550X switch. The commands may vary depending on your switch product ID (PID).
Note: Make sure SSH is enabled in the Security section for the switch. To learn more about accessing the CLI using SSH or Telnet, click here.
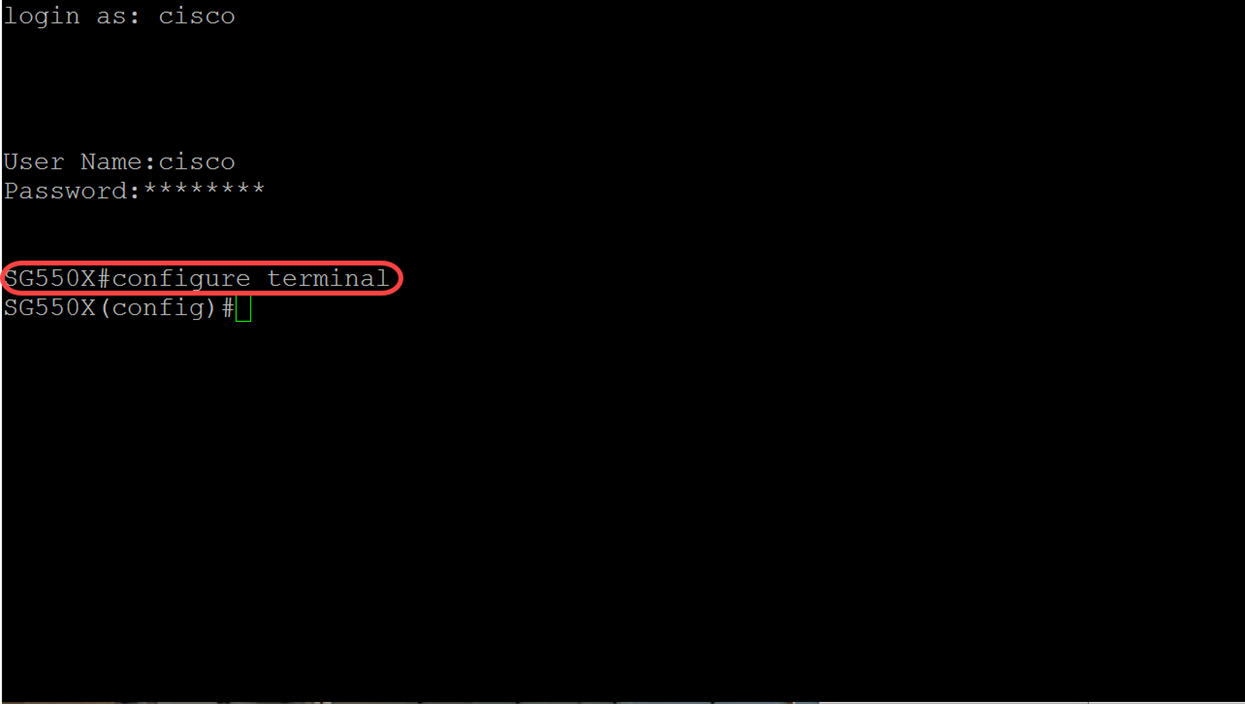
Step 2. Switch to Global Configuration mode by entering the following command.
SG550X#configure terminal
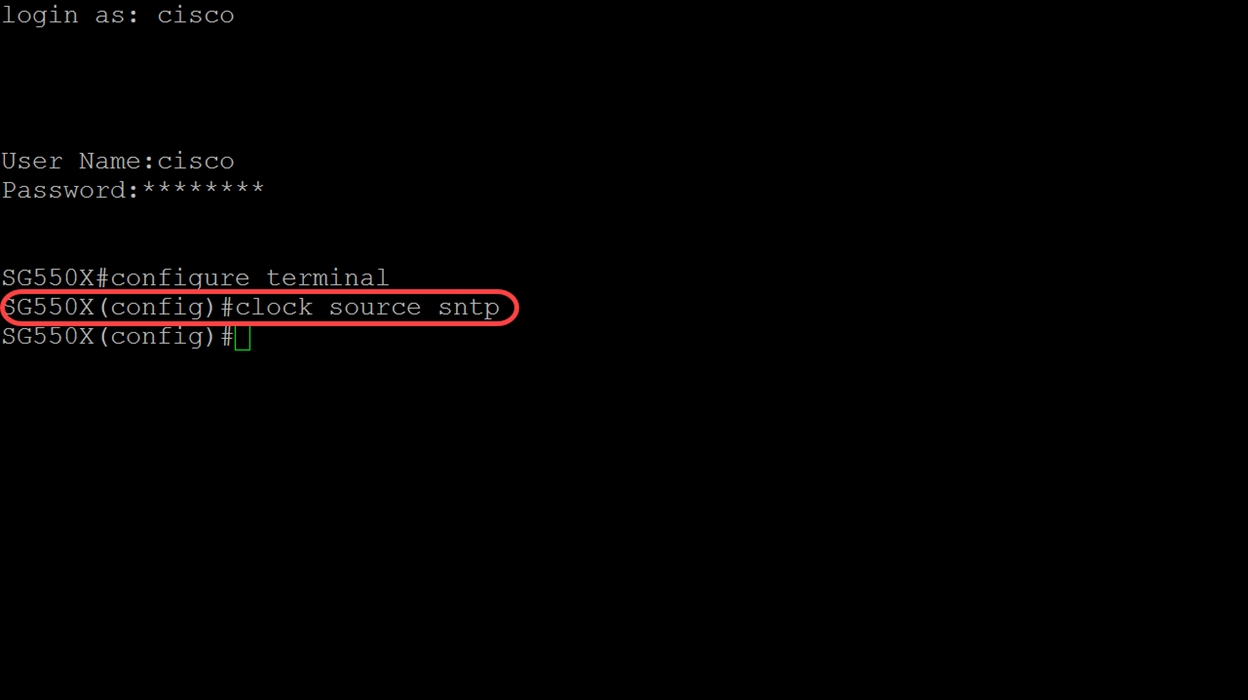
Step 3. To configure the system time (main clock source) to sntp server, type in the command below. This will configure an external time source for the system clock.
SG550X(config)#clock source sntp
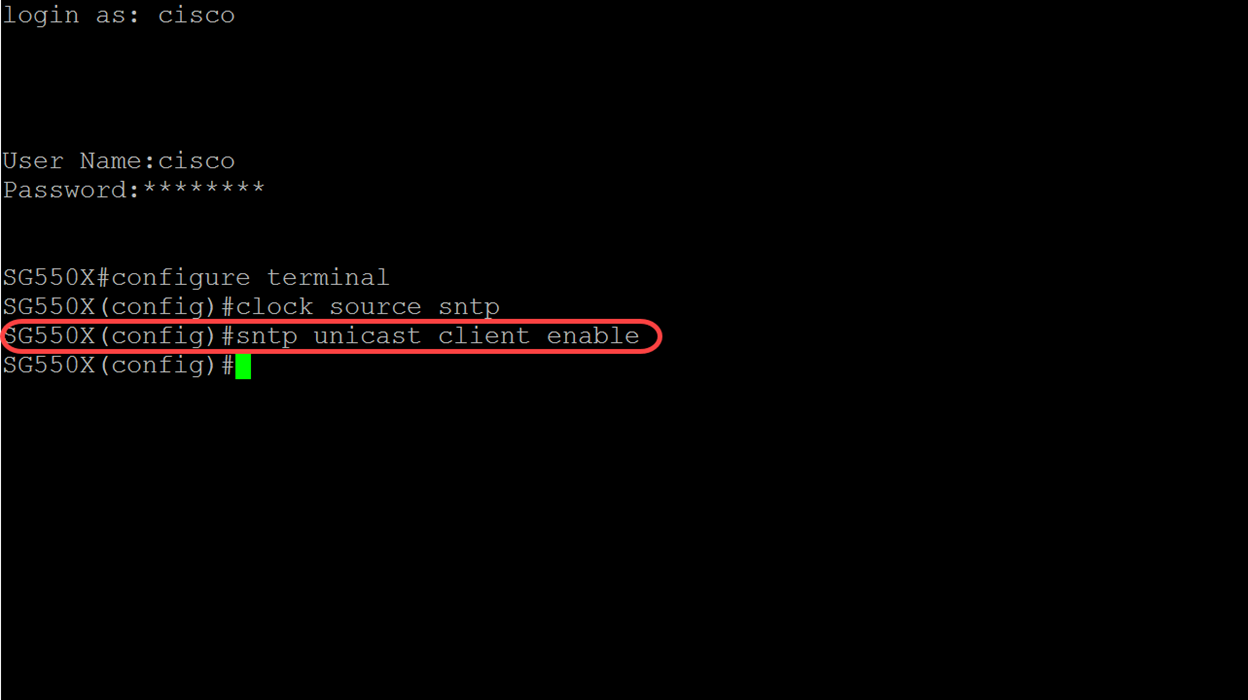
Step 4. Unicast clients use predefined packets when communicating with the SNTP server. To enable Unicast client, type in the following command below.
SG550X(config)#sntp unicast client enable
Note: To disable the SNTP Unicast clients, use the no form of this command: no sntp unicast client enable.
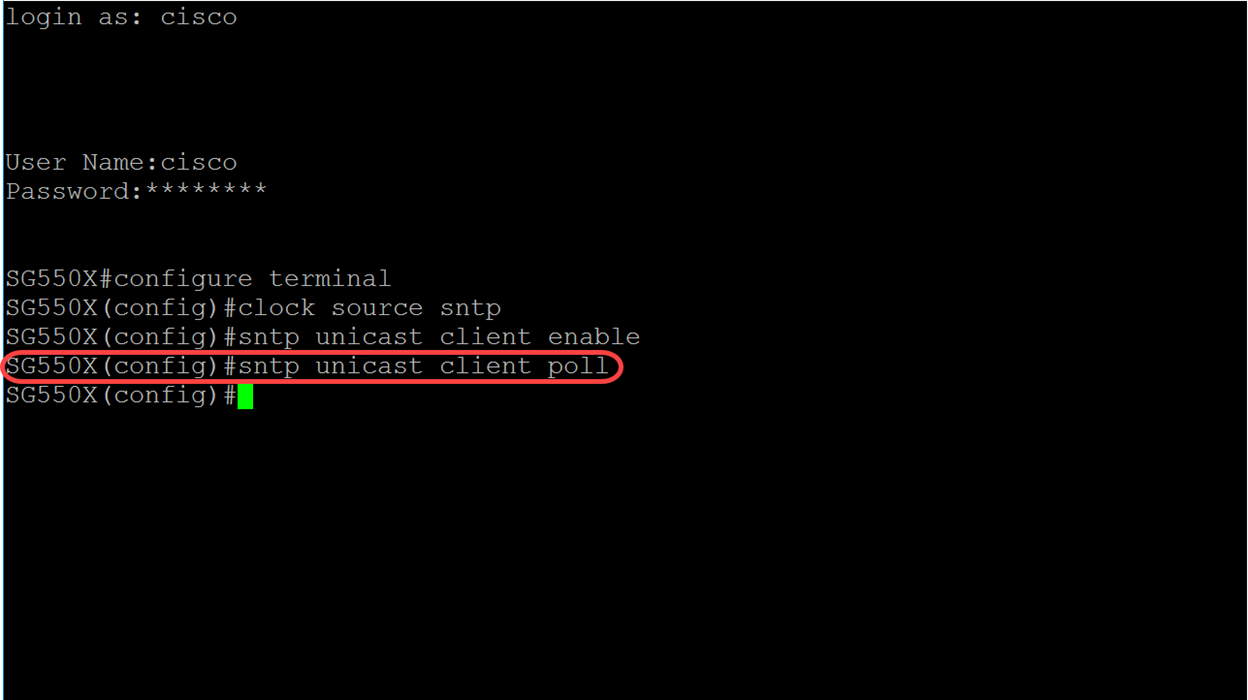
Step 5. (Optional) The polling interval is 1024 seconds. To enable polling for the SNTP Unicast client, use the command below.
SG550X(config)#sntp unicast client poll
Note: To disable the SNTP Unicast client, use the command: no sntp unicast client poll.
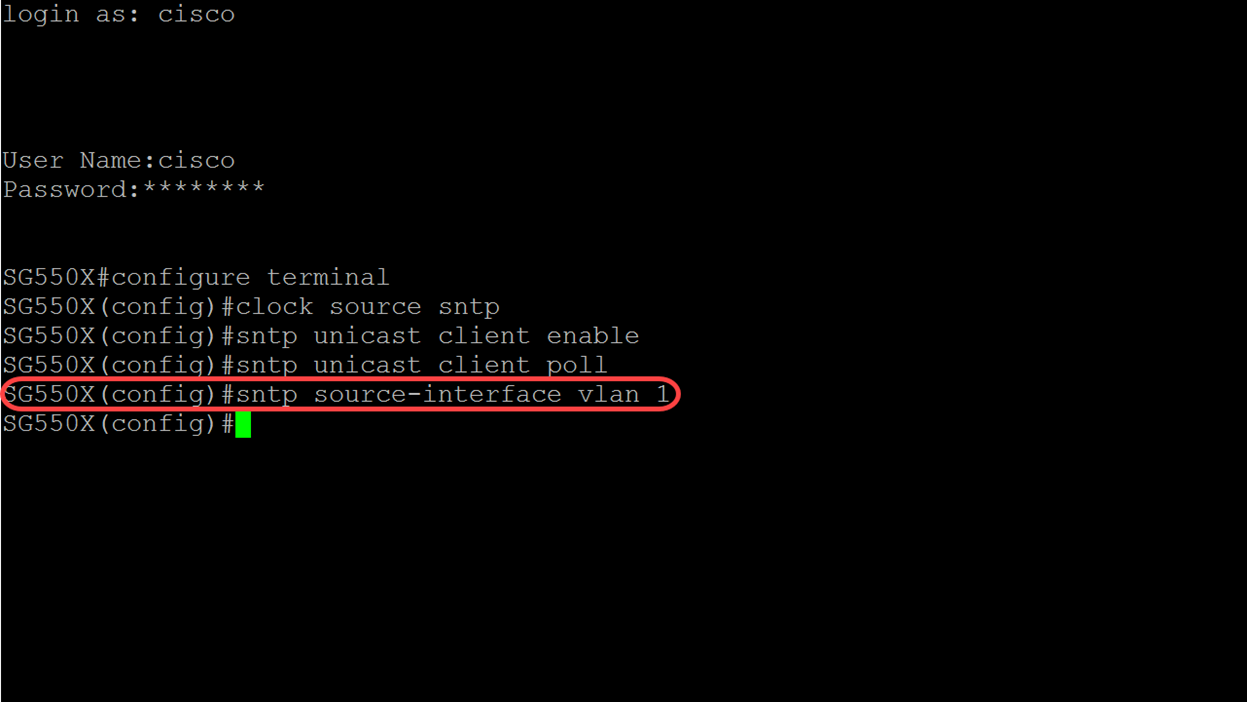
Step 6. (Optional) To specify the source interface whose IPv4 address will be used as the source IPv4 address for communication with IPv4 SNTP servers, use the command below in Global Configuration mode.
Note: To restore the default configuration, use the no form this command. For example, no sntp source-interface.
SG550X(config)#sntp source-interface [Interface-id]
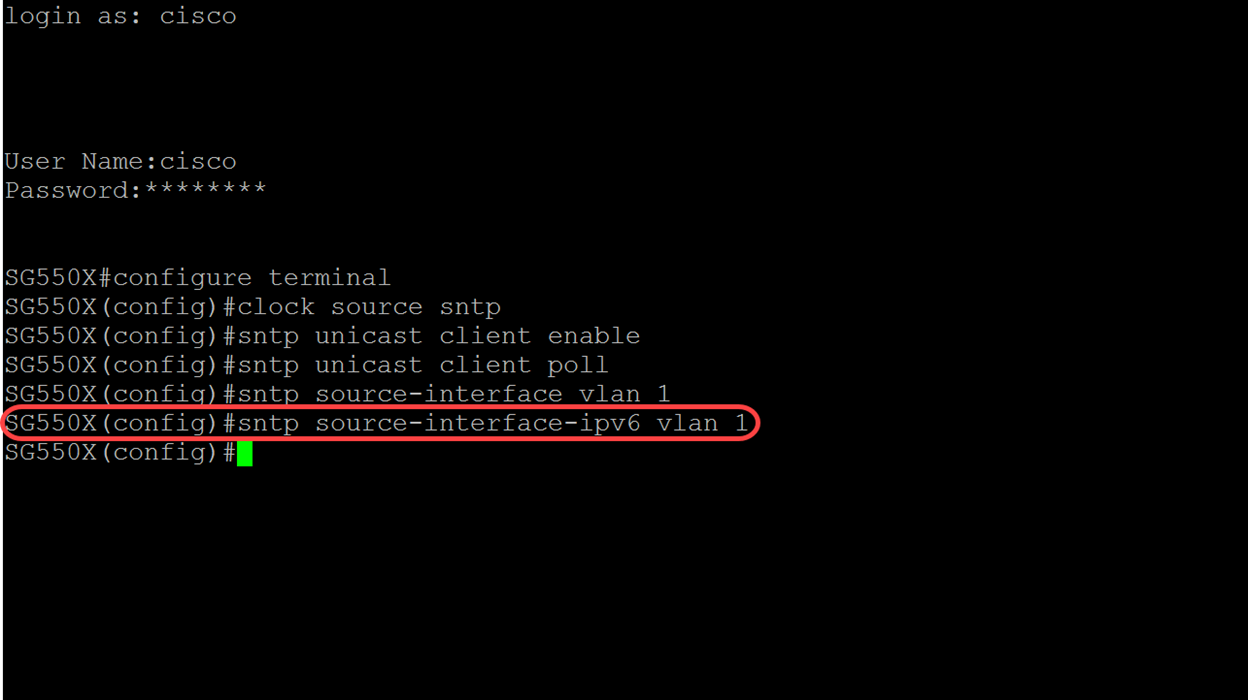
Step 7. (Optional) To specify the source interface whose IPv6 address will be used as the source IPv6 address for communication with IPv6 SNTP servers use the command below.
Note: Use the command no sntp source-interface-ipv6 to restore the default configuration for SNTP source interface ipv6.
SG550X(config)#sntp source-interface-ipv6 [interface-id]
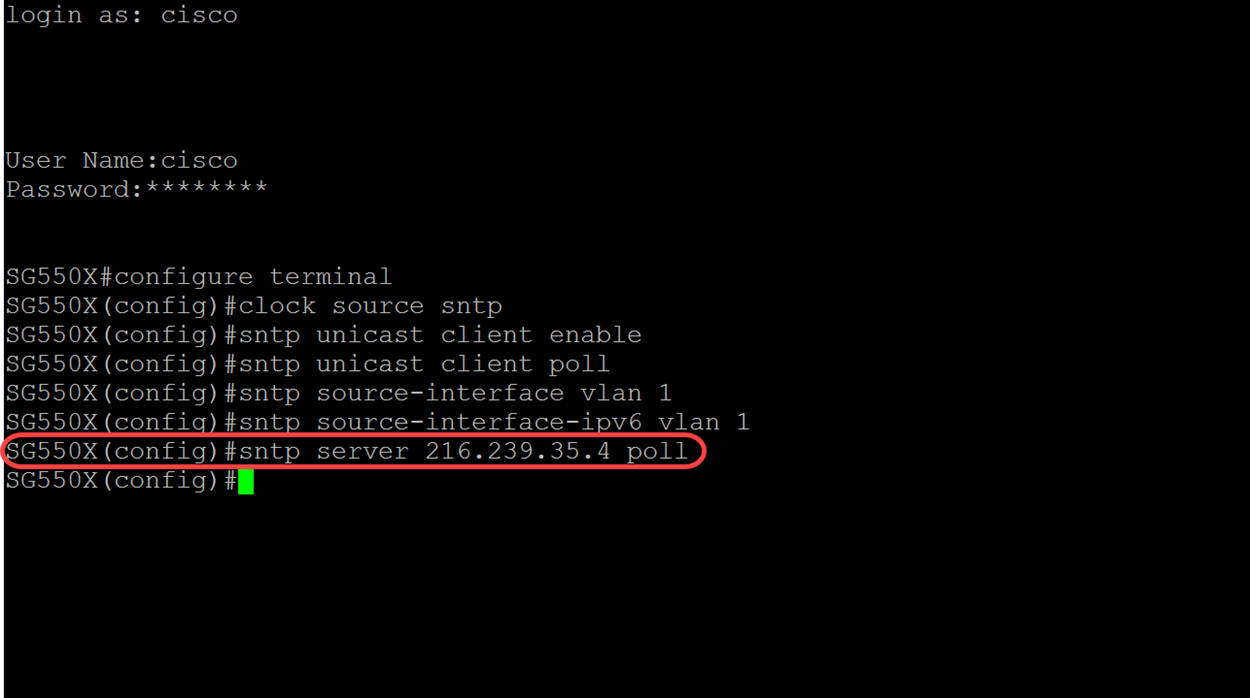
Step 8. Enter the following command below to add a new SNTP server. When working in high risk environments (government, hospitals, etc.), it’s a good idea to have multiple servers for redundancy and to protect against malfunctioning servers that provide incorrect time. If you have configured authentication, specify the authentication key to use when sending packets to this peer. The authentication key ranges from 1-4294967295. In this example, we will be adding 216.239.35.4 which is time.google.com and enabling polling for our new SNTP server.
Note: The switch supports up to 8 SNTP servers. This may vary depending on the switch model that you are using. To learn more about configuring Simple Network Time Protocol (SNTP) authentication settings on a switch through the CLI, click here.
SG550X(config)#sntp server {IP address | hostname} [poll] [key keyid]
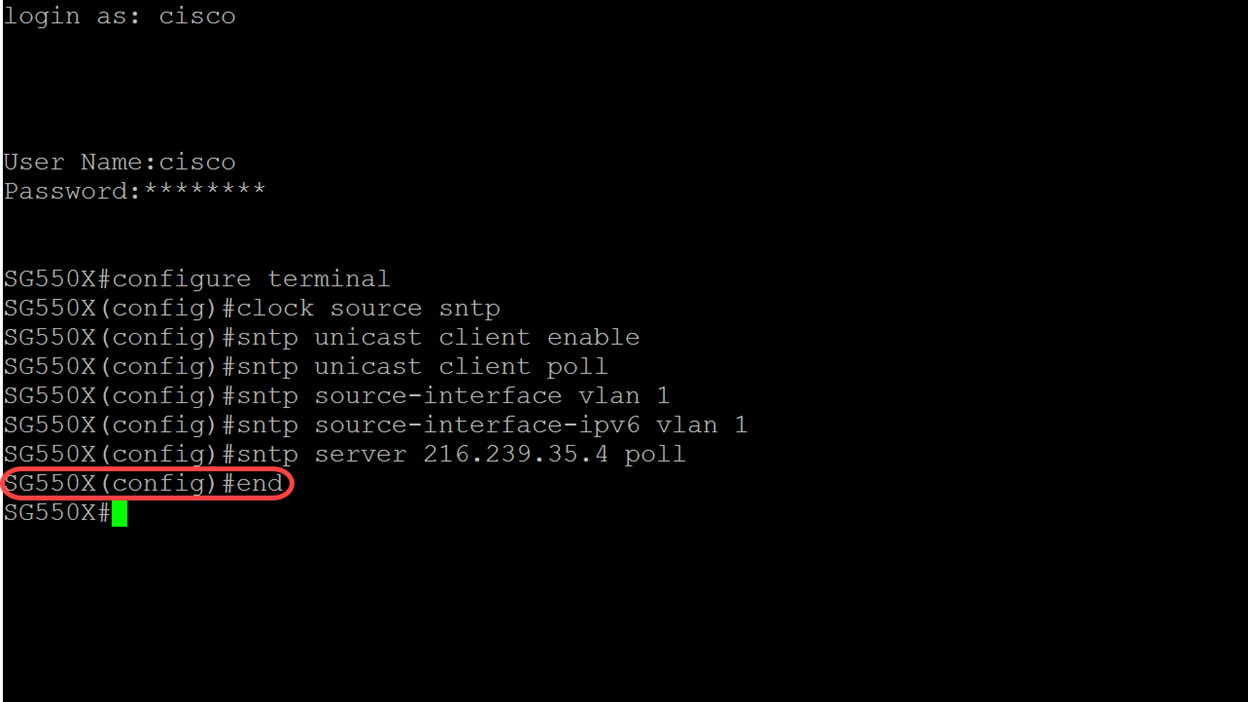
Step 9. Enter the end command to go back to Privileged EXEC mode.
SG550X(config)#end
Step 10. (Optional) Enter the following command in Privileged EXEC mode to save the configuration.
SG550X#copy running-config startup-config
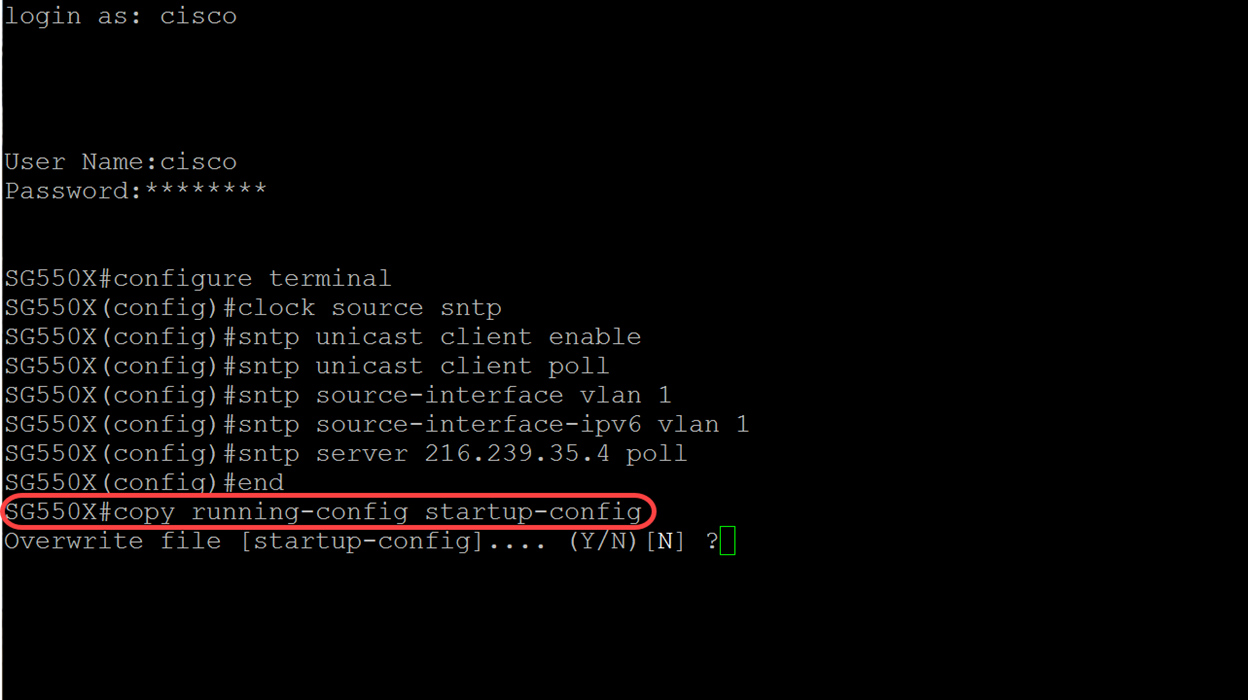
Step 11. (Optional) Press Y to save the settings in the startup configuration of the switch. Otherwise, press N to proceed without saving the configuration to the startup configuration of the switch.

Conclusion
You should now have configured the switch to be a client.
Note: The commands that were executed below were used in Privileged EXEC mode.
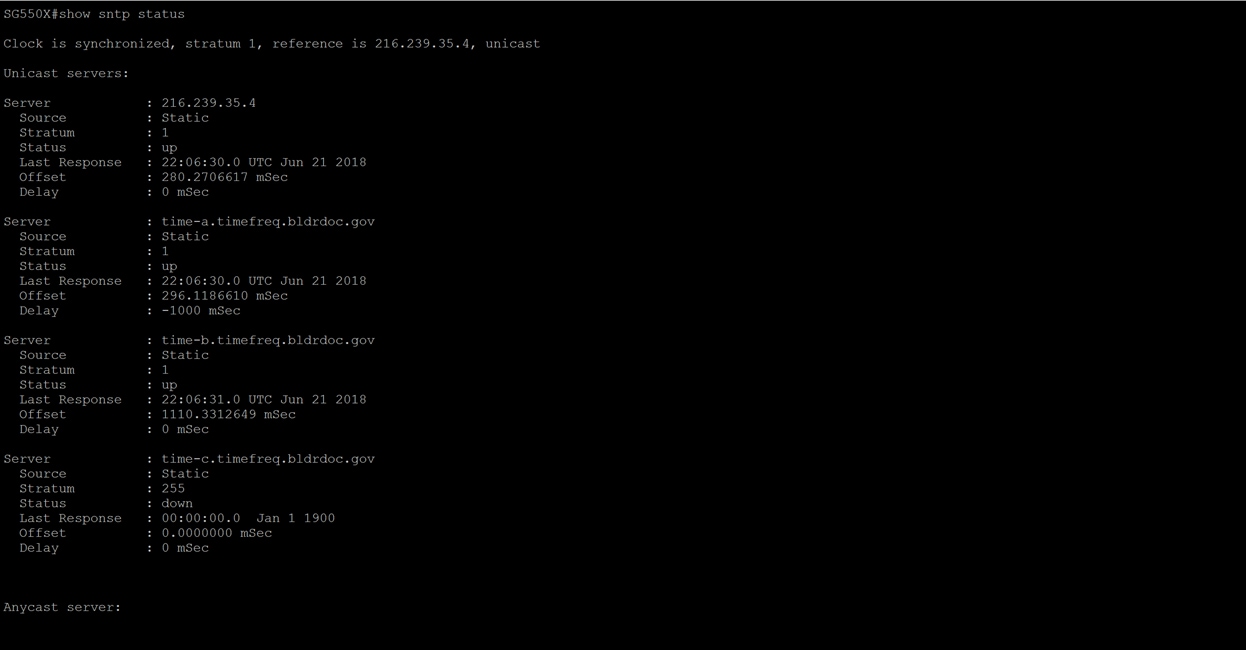
Step 1. To display the SNTP status, type in the following command:
SG550X#show sntp status
Step 2. The following example displays the device’s current SNTP configuration.
SG550X#show sntp configuration

 Feedback
Contact Cisco
- Open a Support Case

- (Requires a Cisco Service Contract)
